Table of Contents
JX Client Connection HOWTO
Launch JX Client
Launch the client using one of the following methods:
- CLI: Change directory (cd) to the location of jxclient.jar and then run
java -jar jxclient.jar
- GUI: navigate to the directory that contains the client file
- Linux: Right click on jxclient.jar → Open With “OpenJDK Java 11 Runtime”
- macOS: Right click on jxclient.jar → Open With → JavaLauncher
- Windows:Right click on jxclient.jar → Open with… → Java(TM) Platform SE binary → click OK
Client Splash Screen
Server Selection Screen
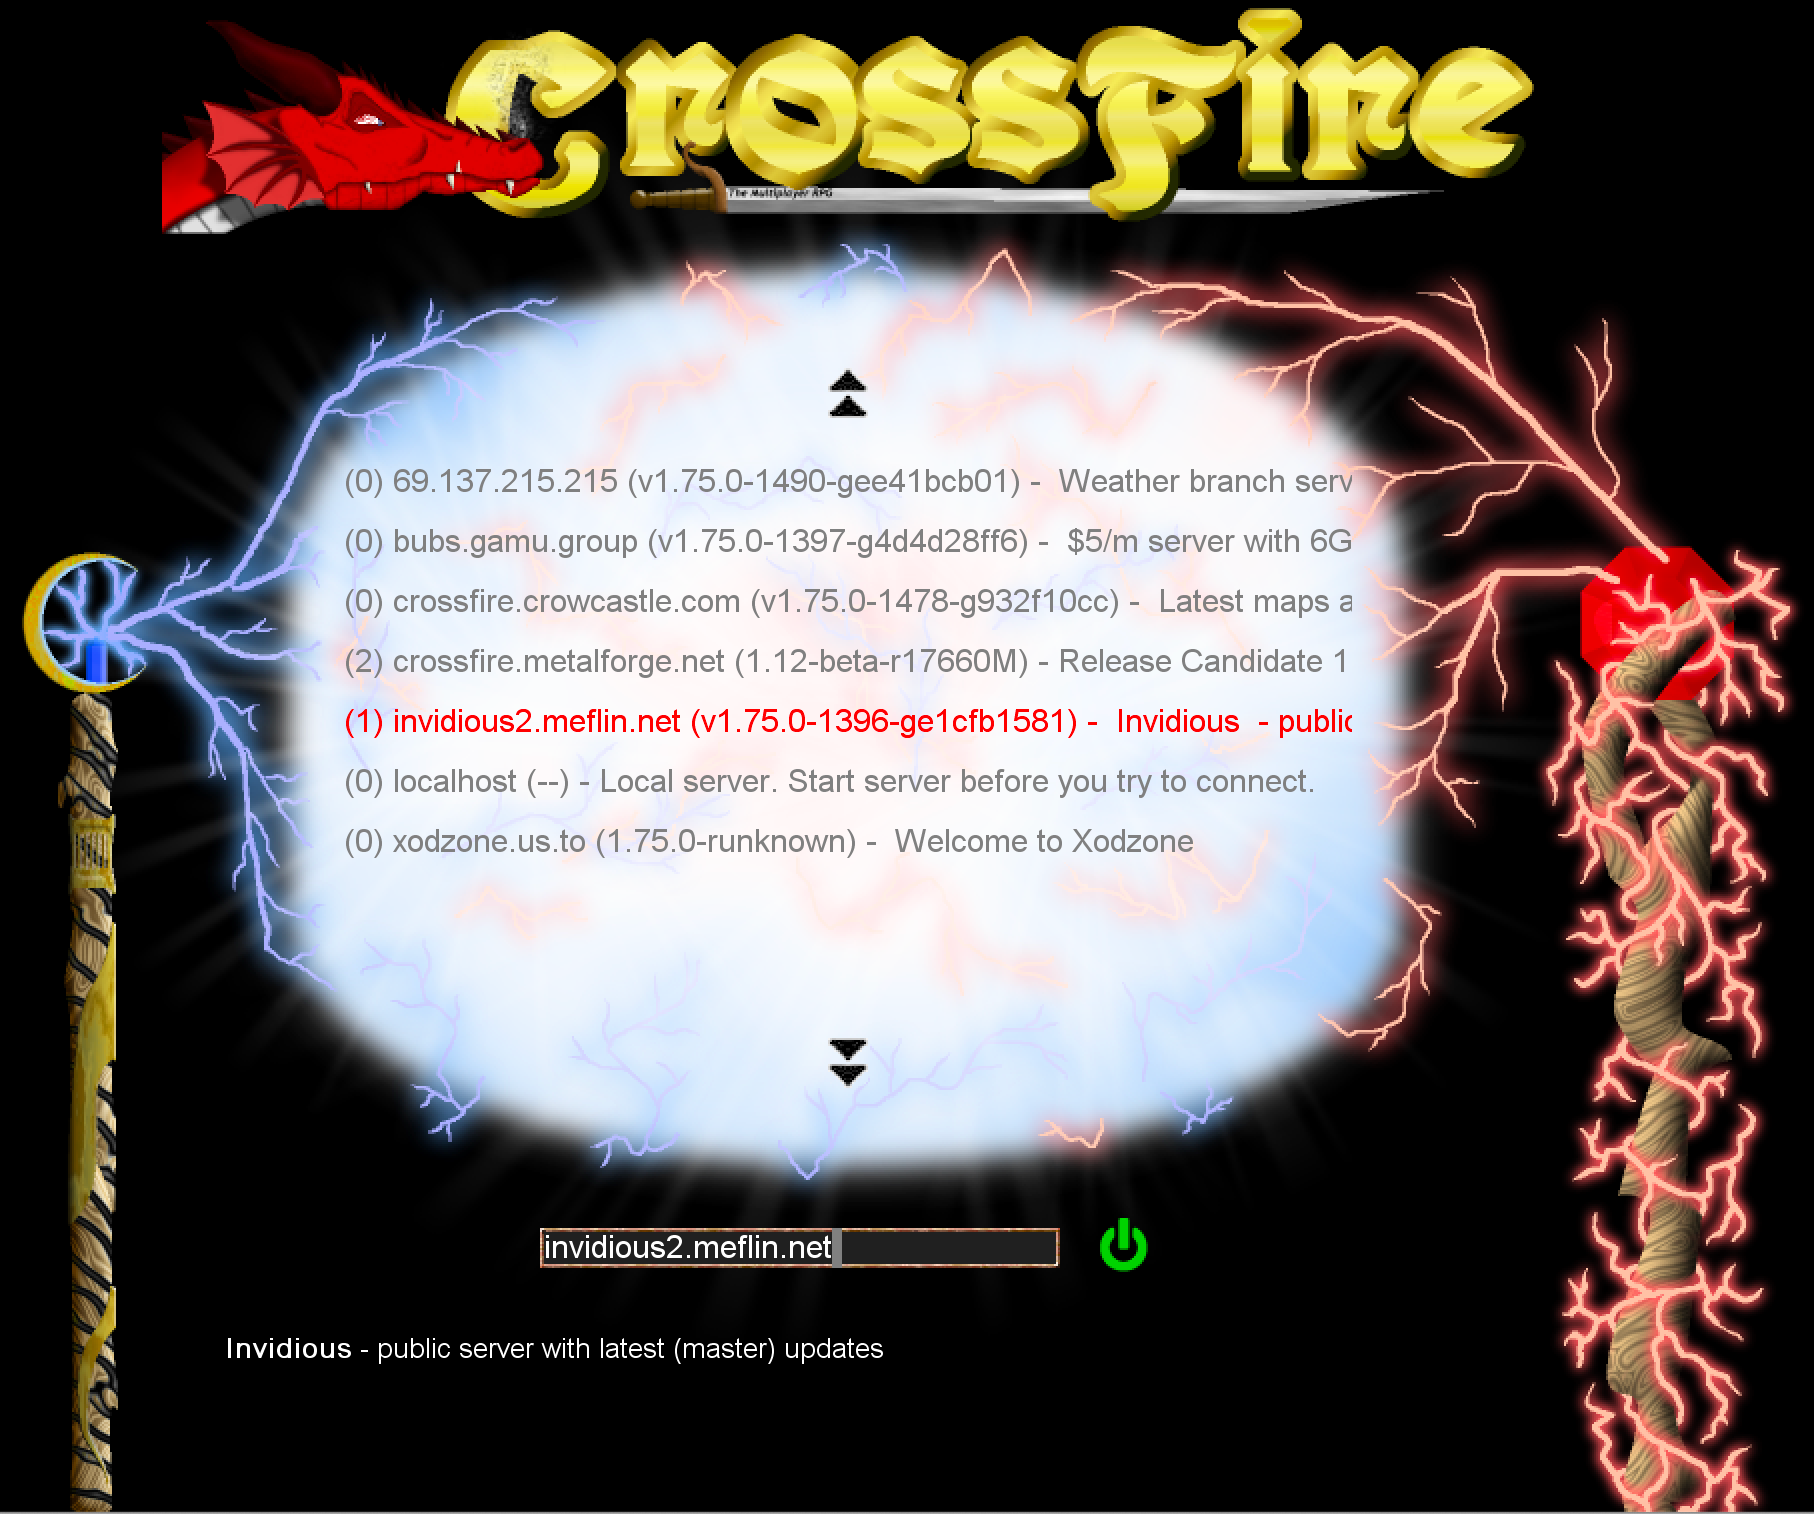
After the client finishes loading, you should now see the server selection screen (aka, metaserver list)
- Select the server you want to connect to by left clicking once on that server name
- Left click once on the green icon found at the bottom of the interface
Account Login
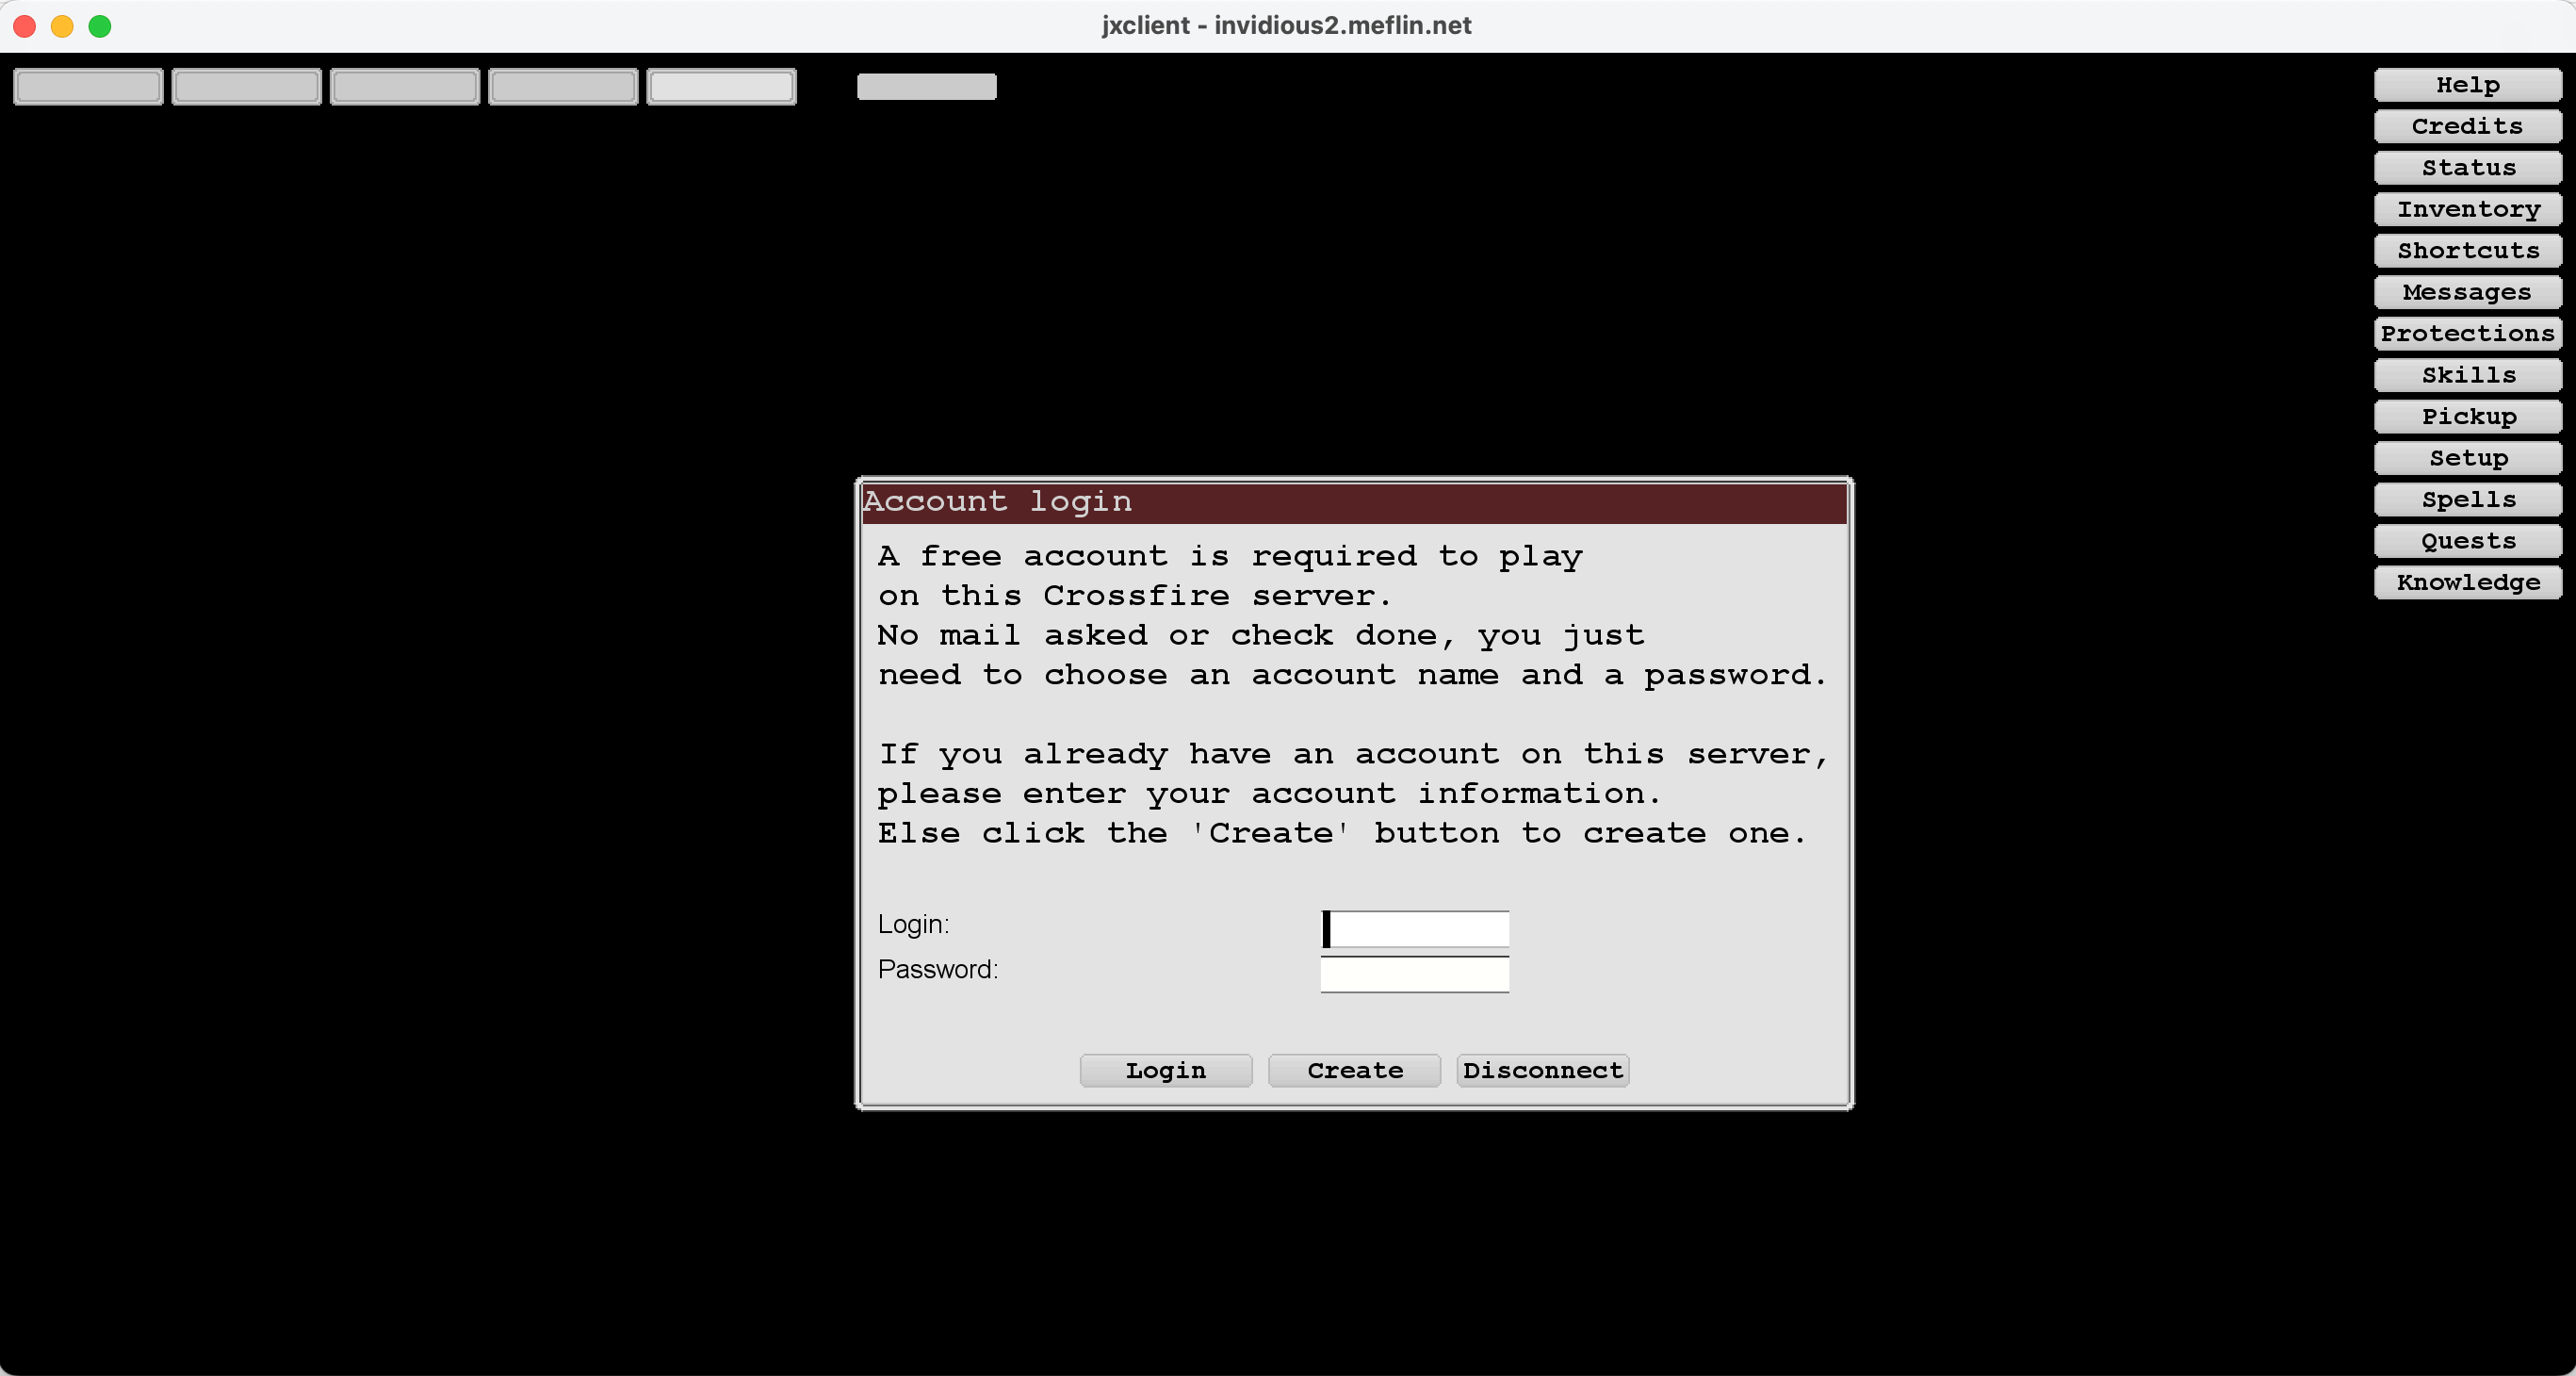
The login screen for the game server is now showing
Note: login name and password is unique to each game server, so keep track what you used to login AND which server
New Players
- Left click on the Create button to set up a new account NOTE: this is NOT the name your character will use while in the game
- Follow the prompts to create a new character including name, class, race, and stats
- For assistance with creating a character, see the character creation guide
Returning Players
- Enter your username in the Login: field
- Enter your account password in the Password: field
- Click on the Login button to proceed to that character selection screen


